Remote monitoring with Arduino (part 1)
February 2013 (535 Words, 3 Minutes)

Being a paranoid person, I always wanted to monitor our summer house remotely. With all the advancement of technology, one would think such a task is easy these days but surprisingly it is not. Off-the-shelf systems look like they are still stuck in the 80s and no one has bothered to build an open and modular system for such a purpose.
In the coming several posts I’ll describe the system I’ve built for my own purposes. Hopefully, this would be helpful for the next guy trying to do the same.
The problem
Defining the problem is half of the task. While there are many things one could monitor, for starters, I decided to stick to the following monitors:
- Indoor temperature
- Outdoor temperature
- Crawlspace temperature
- Crawlspace flood monitoring
The options
There is a wide gamut of monitoring options available. Each one has its own pros and cons. What follows is a very basic benefit analysis for each of the most obvious ones. Granted, such analysis is subjective and depends on your goals and circumstances.
Off-the-shelf alarm system
There are tons of those on the market wit varying degree of sophistication. The biggest attraction is that such systems only require installation and relatively simple configuration. They also come with versatile sensors, including motion/open sensors, video cameras, and climate sensors. However they have several disadvantages:
- Only relatively sophisticated models come with flood detection.
- Such systems are not open and can only be extended in very limited ways.
- Only very advanced systems come with a PC/internet interface.
- Most of such systems require a phone line and a subscription to a monitoring service.
- They have relatively high cost.
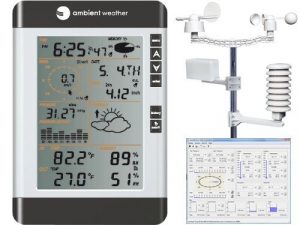
Consumer-grade weather stations with PC/network interface

These are significantly less expensive (on an average) than the security systems. On an upside, they are a lot of fun, allowing to monitor various weather conditions, capture them for your own analysis (in Linux as well – see the excellent WView software) and uploading to the community sites like Weather Underground. As for the disadvantages, they are as follows:
- Most of consumer-grade systems are not open. They come at most with two temperature sensors and the models that allow more are significantly more expensive.
- None of them come with flood detection.
- Quality is an issue. Most of affordable models have a lot of negative feedback related to quality and reliability.
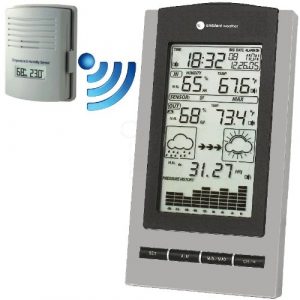
Hacked indoor/outdoor thermometer

Cheap indoor/outdoor thermometers are a dime a dozen these days. If there is a way to hack into the indoor unit to capture the data, that could be a terrific solution (for the temperature monitoring at least). Sensors are very cheap, they run off a couple of AA batteries for 5-6 months and they are small enough to be placed anywhere. The problem is, these devices are not really open to tinkering and my non-existent electronics skills are clearly insufficient for reverse engineering such a device.
Another way to make use of such sensors is to build an Arduino-based receiver that is capable of reading off-the-shelf temperature sensors. This is doable, at least in theory and there are a couple of efforts underway to build such receivers. This is something I will definitely look into later as it would simplify the system dramatically.
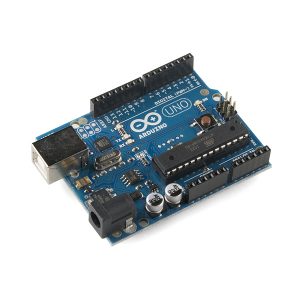
DIY Arduino-based system
On the upside, doing it is a lot of fun and allows a lot of flexibility: one can build wired or wireless monitoring, it is possible to monitor a lot of different sensors and conditions. Also, Arduino is relatively inexpensive.
On the downside, small as Arduino is, it is still a relative overkill for temperature monitoring. Where an off-the-shelf temperature sensor could run on a couple of AA batteries for half a year, an Arduino based solution would require an AC adapter. And of course it is only suitable if one is not afraid to do some handiwork, to solder components, and to troubleshoot things when they don’t work right away.
As the title suggest, this is the option I ultimately settled on 🙂 . In the part 2, I will discuss the design of the system.